Add a Consent Widget
The consent widget is a small floating button that sits in a bottom corner of your website. When a visitor clicks it, the second layer of your consent banner opens — the detailed preferences view where they can review and change their cookie choices category by category.
Because the widget is switched on from the portal, you can give visitors a permanent route back to their preferences without asking a developer to add anything to your site.
Why offer a consent widget
Consent isn't a one-time event. Under GDPR Article 7(3), a visitor has the right to withdraw consent at any time, and withdrawing must be as easy as giving it in the first place. US state privacy laws such as the CPRA take a similar position: visitors need an obvious, always-available route back to their privacy choices.
The traditional way to meet this is a "Cookie settings" link in your site footer — which someone has to build, place on every page, and maintain. The consent widget gets you the same outcome as a setting you turn on and style in the portal.
Turn on the widget for a banner
The widget is configured per banner, in the banner's Second layer tab. See Creating Banners for how to open and edit a banner.
- Go to Consent Management → Websites, open your website, and select Banners.
- Open the banner you want the widget on, and go to the Second layer tab.
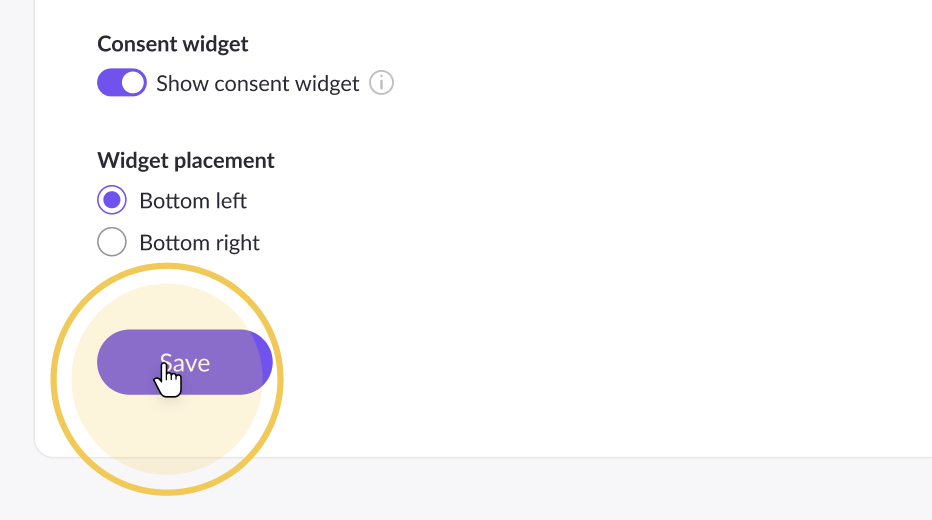
- Scroll to Consent widget and turn on Show consent widget.
- Under Widget placement, choose Bottom left or Bottom right.
- Click Save.
The widget follows your banner rulesBecause the setting lives on the banner, only visitors who are served that banner will see the widget. If you run separate banners for different regions, turn the widget on for each banner where you want it to appear. See Configuring Rules for how visitors are matched to banners.
Style the widget
The widget's colors are set at the website level, under Appearance → Branding. Every banner on that website shares the same widget style.
- Open your website and select Branding in the left sidebar.
- Scroll to the Widget section.
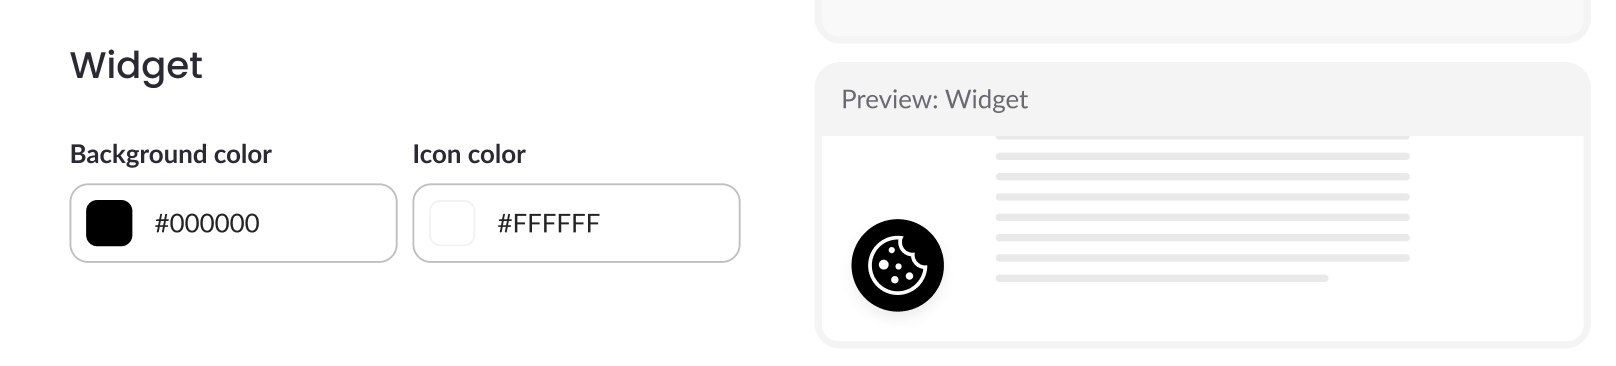
- Set Background color — the fill of the circular button.
- Set Icon color — the cookie icon inside it.
- Use Preview: Widget on the right to check the combination as you go.
- Click Save.
Behavior is per banner, appearance is per websiteThese two settings work at different levels on purpose. Each banner decides whether the widget shows and where it sits; Branding decides how it looks across the whole website. Pick colors with enough contrast against the pages the widget will sit on, not just against the preview background.
What visitors see
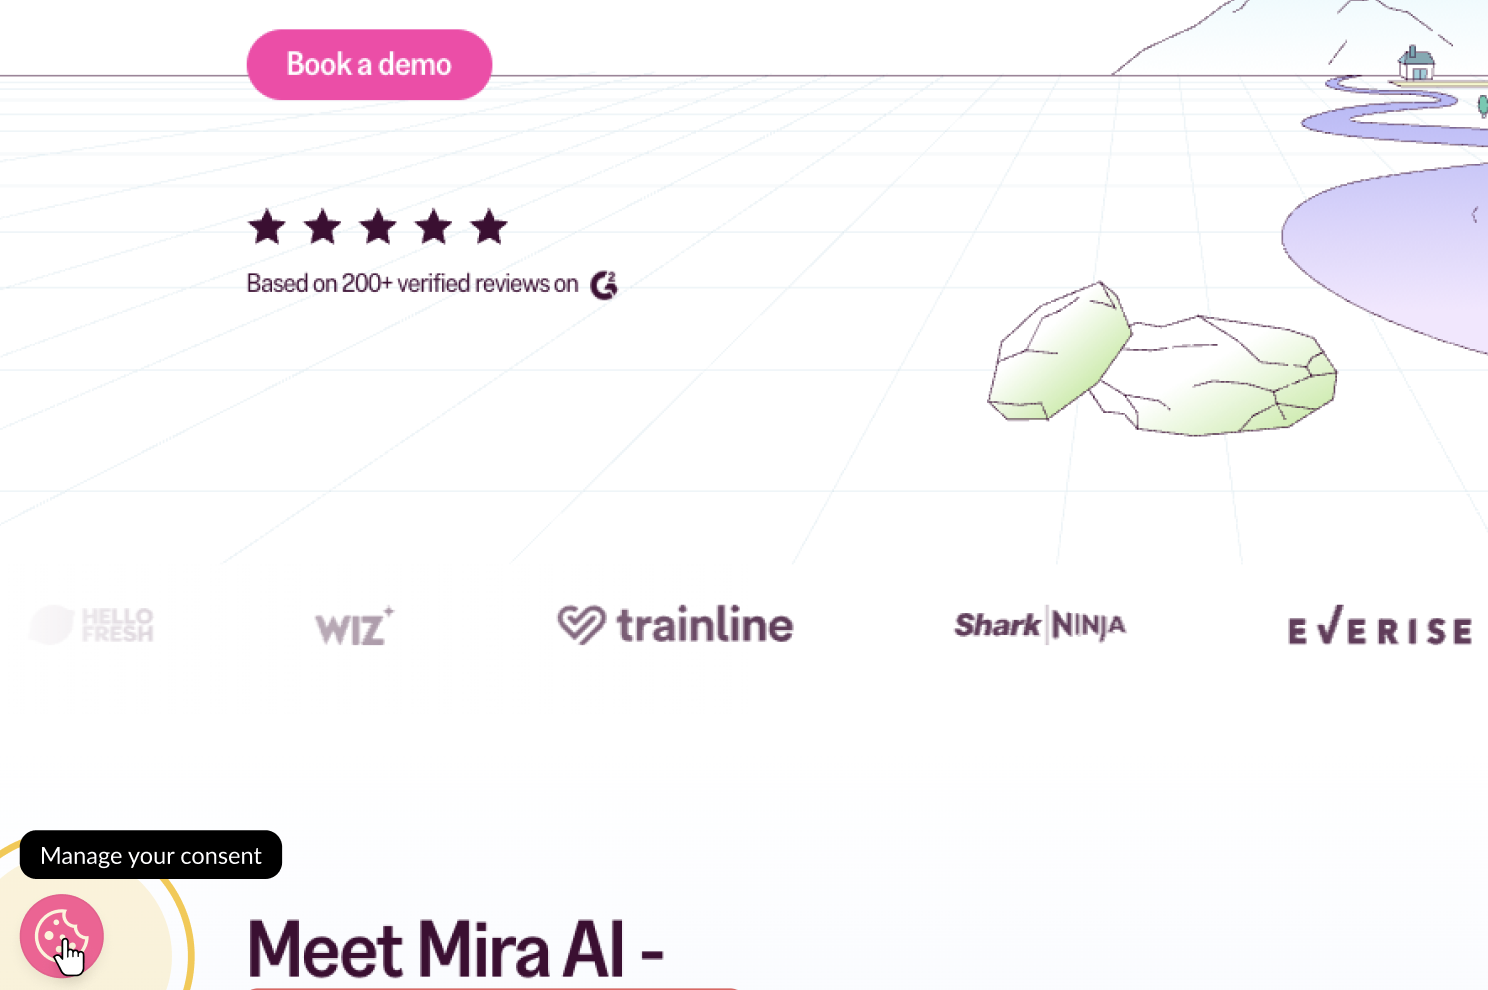
Once published, the widget appears in the corner you chose, on every page where your CMP script runs. Hovering over it shows the tooltip Manage your consent. Clicking it opens the second layer, where the visitor can change any category and save.
The widget hides itself whenever the first or second layer is on screen, so it never overlaps or competes with the banner. As soon as the visitor saves their choice and the banner closes, the widget reappears — ready for the next time they want to change their mind.
Publish your changes
Widget settings don't reach your live site on their own. After saving in both places, click Publish at the top of the website page to push the banner and branding changes out together.
Updated 2 months ago