Getting Started
Accessing the Integration Builder is done through the Automations dashboard, by going to the Settings Menu and clicking 'Automations'. Note: If you don't have this option available in your account, ask your account manager to enable it for you.
NoteThe Integration Builder is still in Beta. New features and updated documentation are added on a weekly basis.
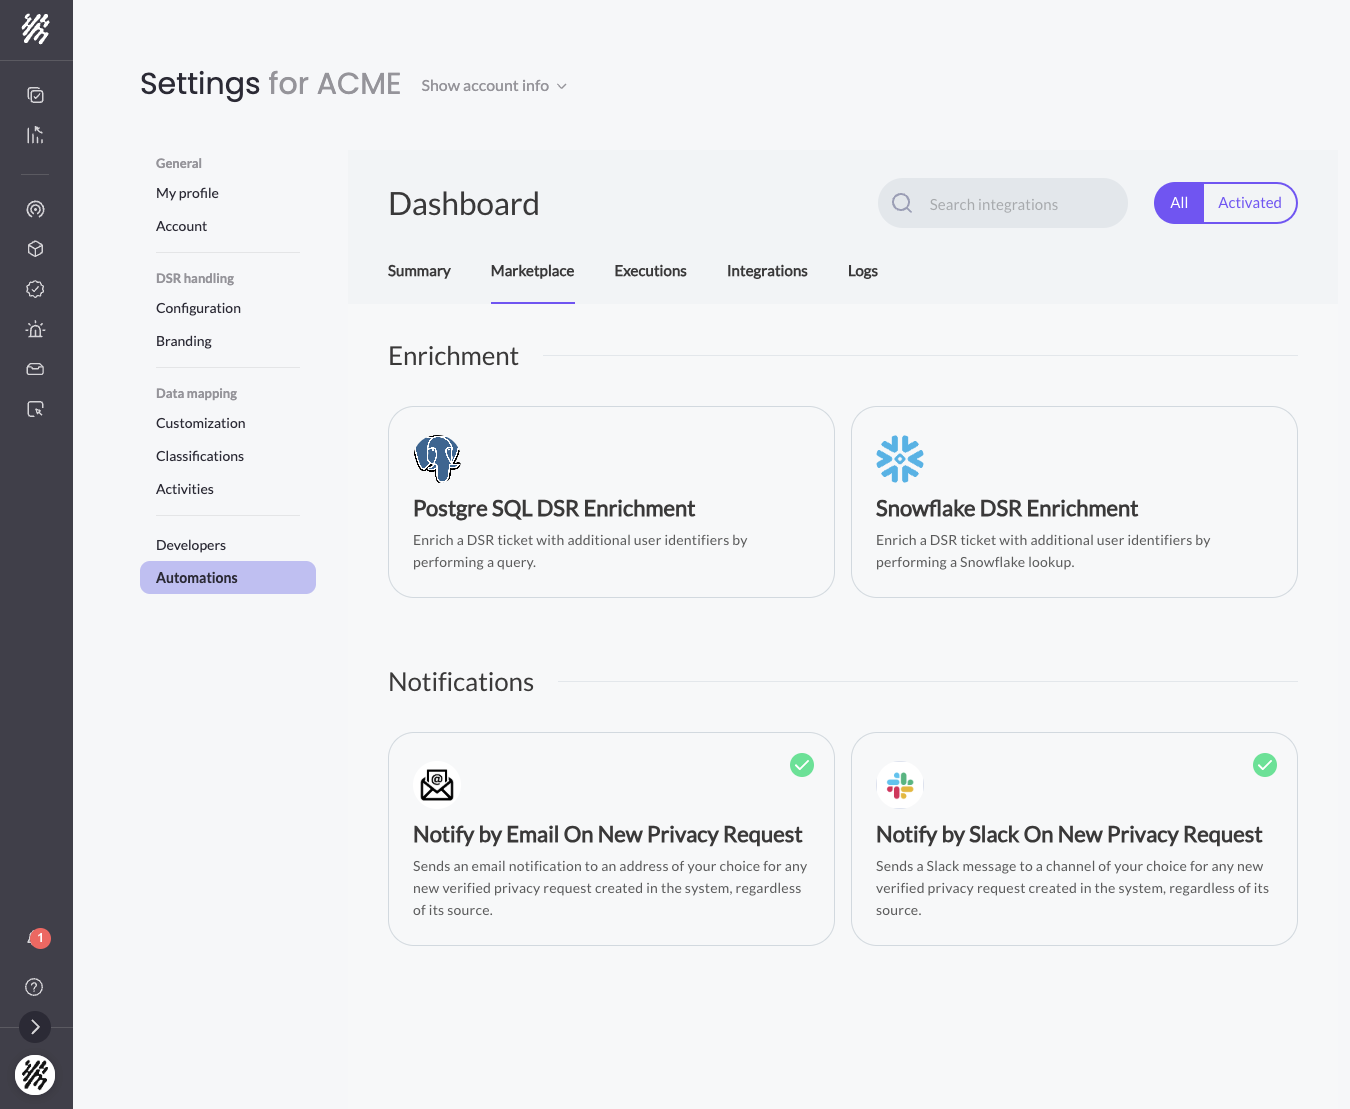
The main page includes 5 tabs:
- Summary - Shows all the instances that currently exist in your account, allowing you to manage them.
- Marketplace - Shows all the available integrations for you to activate. This includes public integrations built by the MineOS team, as well as private integrations built by you, using the integrations builder.
- Executions - Shows the execution history for activated integrations, allowing you to monitor and debug.
- Integrations - Opens the Integration Builder, allowing you to create or edit integrations on your own.
- Logs - Shows integration execution logs.
Before starting with the integration builder, there are a few core concepts you should be familiar with:
- Flow - A set of steps that begin with a trigger and together accomplish a task.
- Integration - A collection of one or more flows. Integrations can be deployed, activated, configured, etc.
- Instance - A copy of an integration that has been configured.
- Trigger - A trigger determines when a flow should run. It can be a scheduled trigger (e.g. "run every 5 minutes on weekdays") or a webhook trigger that runs when a payload is received.
- Execution - When an instance's flow is triggered and runs, that single run is called an execution. An instance may have multiple concurrent executions.
Using the Marketplace
To start using an integration, you need to configure and activate it - this is done by the marketplace. Click any of the available integrations in the marketplace to start the configuration wizard. Once the configuration is completed, it's instance can be managed through the Summary tab.
For example, see instructions for setting up the Slack Notification integration from the marketplace.
Updated 8 months ago