
Triggering Autopilot from the UI
Assign Autopilot to a single request, or to multiple requests at once from the Requests table
You can assign Autopilot to a request one at a time from the ticket itself, or to many requests at once from the Requests table. Both methods check each ticket's eligibility before assigning it — see Autopilot Overview for the eligibility requirements.
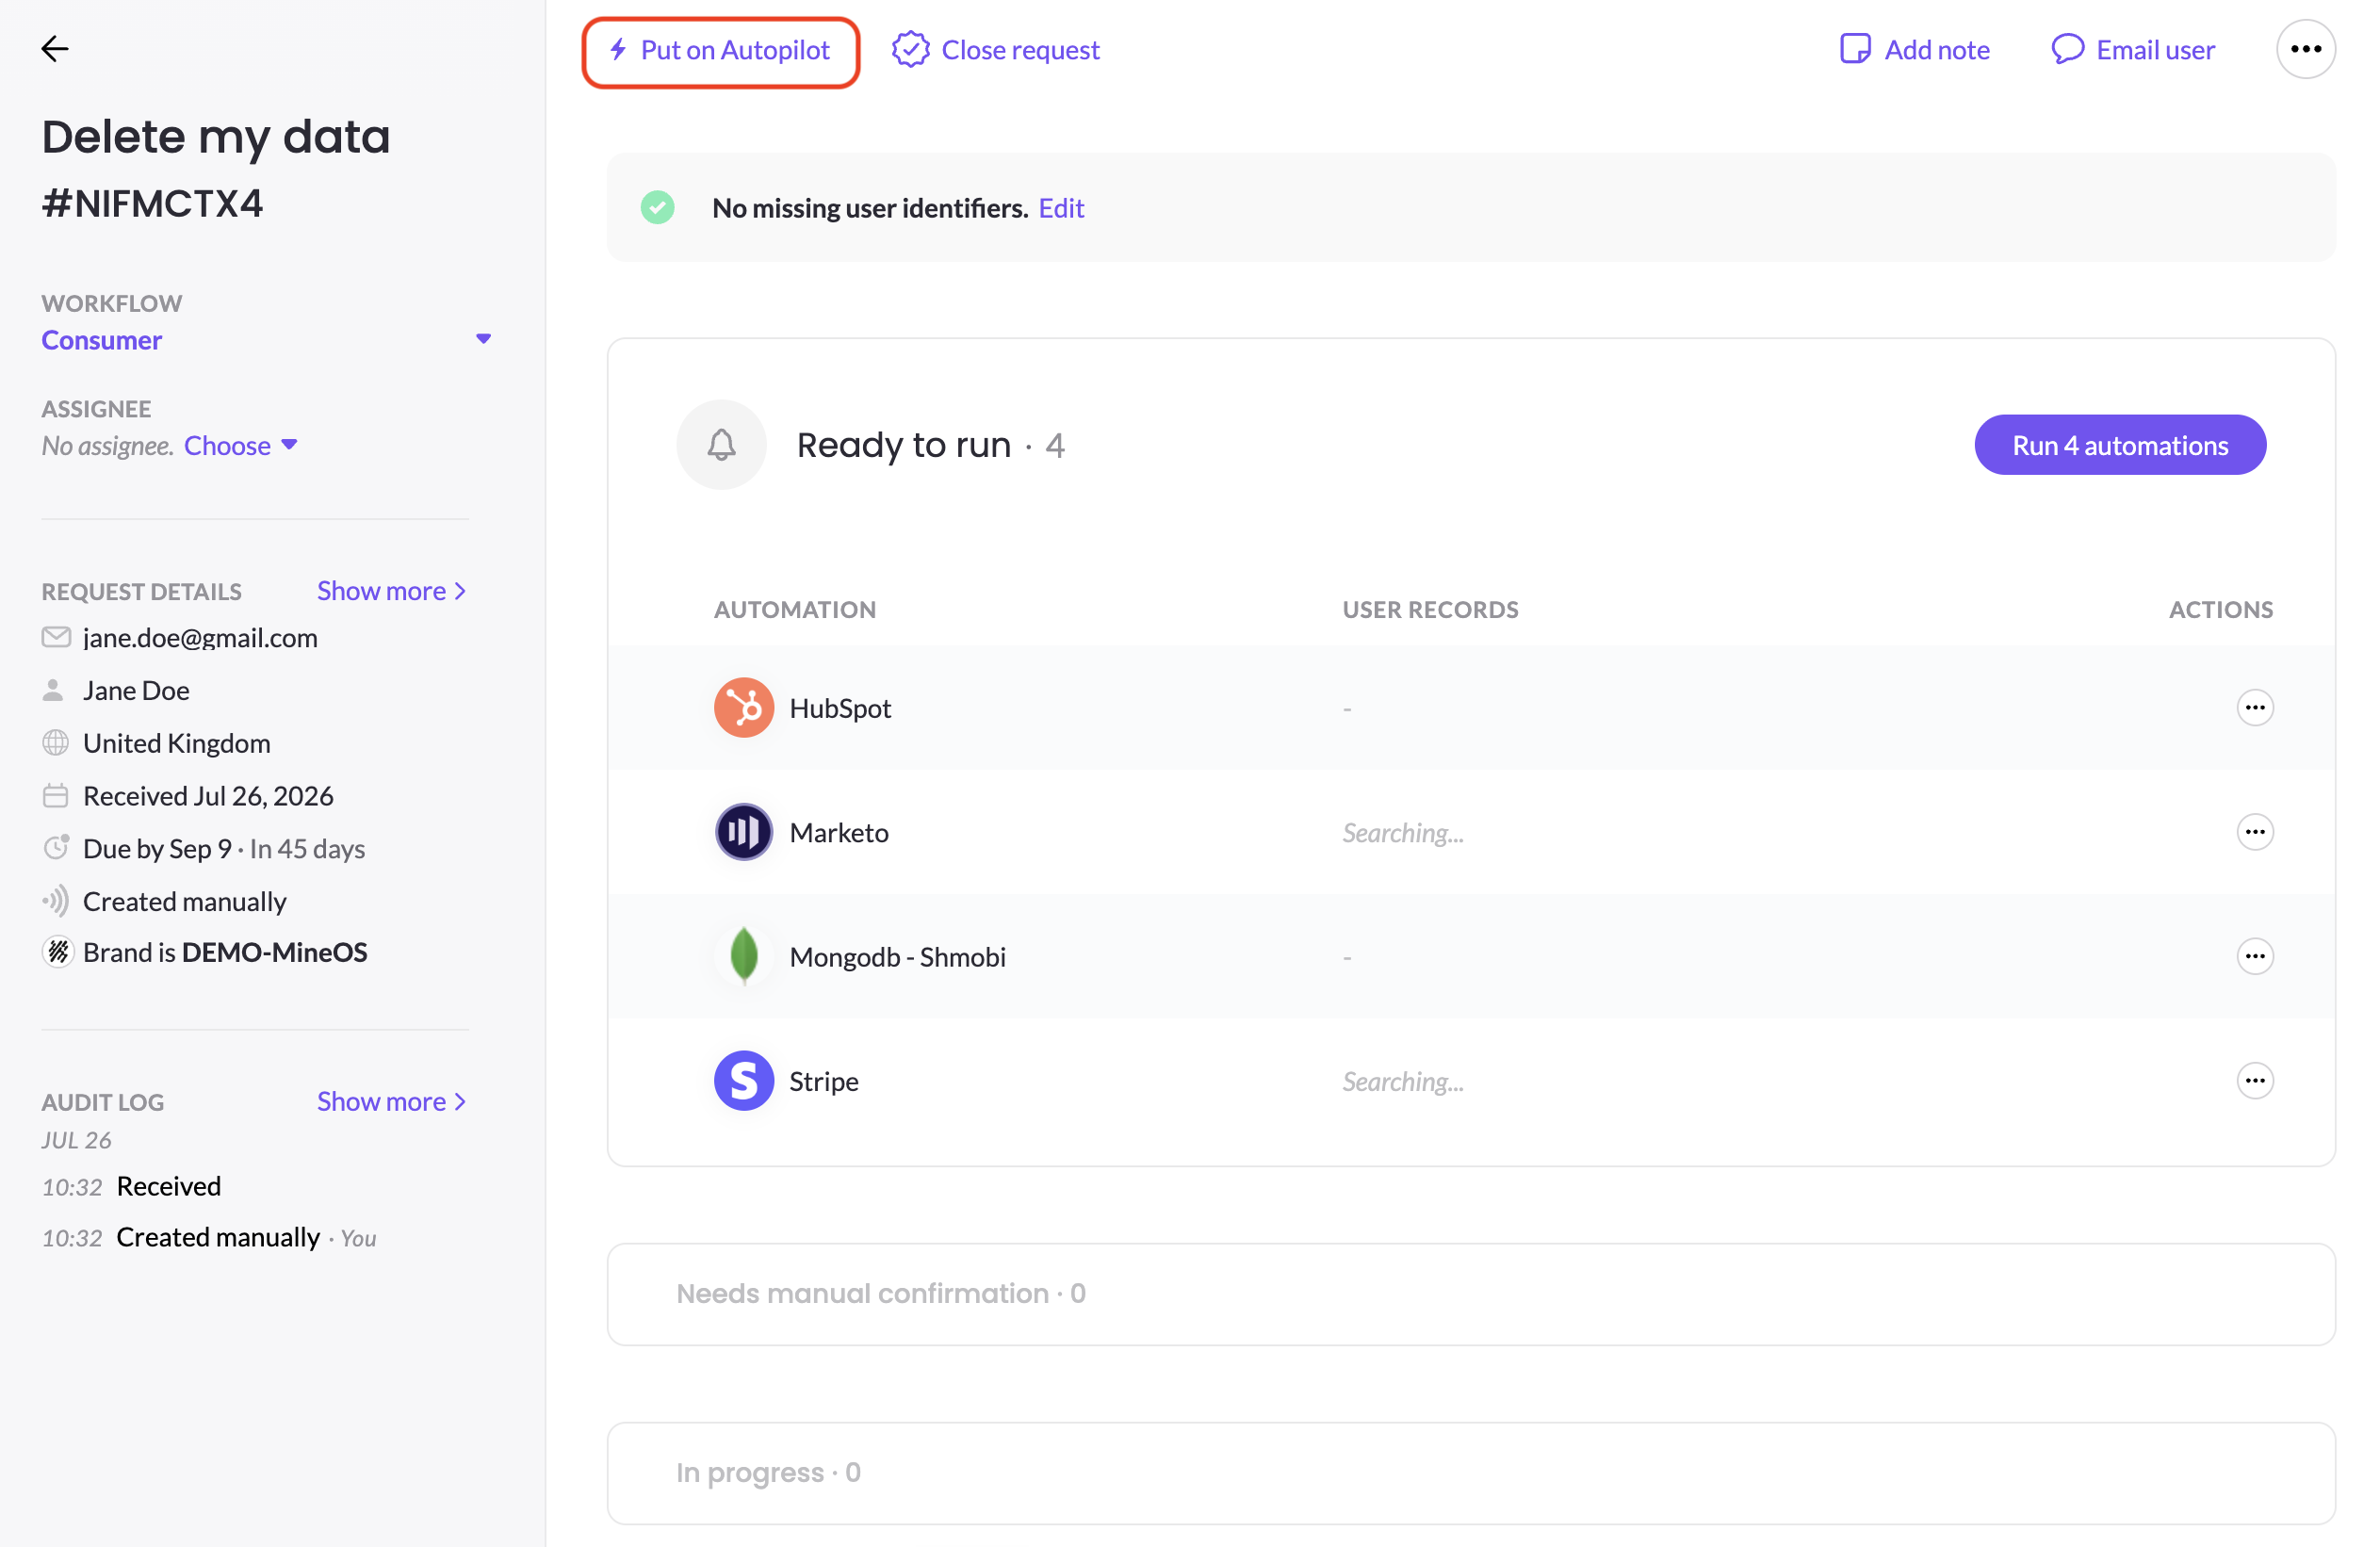
Assigning Autopilot to a single ticket
- Open the request you want to automate.
- Click Put on Autopilot, near the top of the ticket. This button is only enabled when the ticket meets Autopilot's eligibility requirements; otherwise it's greyed out with a tooltip explaining why.
- Confirm the assignment in the dialog that appears.
- Autopilot starts processing the request, and the ticket updates to show that Autopilot is now handling it.
Assigning Autopilot to multiple tickets at once
-
Go to the Requests table.
-
Optionally, use the filters to narrow down the tickets you want to automate — for example, by right (Delete my data), country, or brand.
-
Select the checkboxes for the tickets you want to run on Autopilot.
-
Click Put on Autopilot in the action bar at the bottom of the screen.

-
Confirm the assignment. MineOS checks each selected ticket individually: eligible tickets are assigned to Autopilot, while ineligible ones — for example, tickets with manual tasks in their workflow — return an error, so you know which ones still need manual handling.
After you assign Autopilot
Once a ticket is successfully assigned, an indicator appears next to it in the Requests table and on the ticket itself, so you can tell at a glance which requests Autopilot is handling. You can still open and review a ticket manually at any time, even while it's running on Autopilot.
If you'd rather not assign Autopilot request-by-request, you can also set up an automation that assigns it to every new eligible request automatically as it comes in.
Updated 3 months ago