
Inventory - data sources
Browse, filter, and manage every system, vendor, and data source in your organization from one central inventory.
Your Inventory is the central list of every system, vendor, and data source your organization uses — from SaaS tools like Slack or HubSpot to internal databases and AI tools. It's the foundation for data mapping, privacy assessments, vendor risk management, and AI governance: almost every other module in the platform pulls its context from what's recorded here.
What the Inventory is for
Each entry in your Inventory represents one data source, and teams use it for different purposes depending on their role:
- Privacy and compliance teams use it to map what data each system processes, for building records of processing activities and running assessments.
- Procurement and security teams use it to track vendor risk, contracts, and due diligence status.
- IT and data teams use it to keep an accurate, current picture of the company's software footprint.
- DSR (Data Subject Request) handling also relies on your Inventory: each data source's DSR configuration determines how requests like deletion or data copy get fulfilled for that system. See the dedicated DSR handling articles for the full picture.
Because these use cases overlap on the same underlying system record, you can filter your Inventory by use case (for example, Vendor risk or Request handling) to see only the data sources relevant to your workflow, in addition to filtering by review status (Draft, In evaluation, Approved, Rejected).
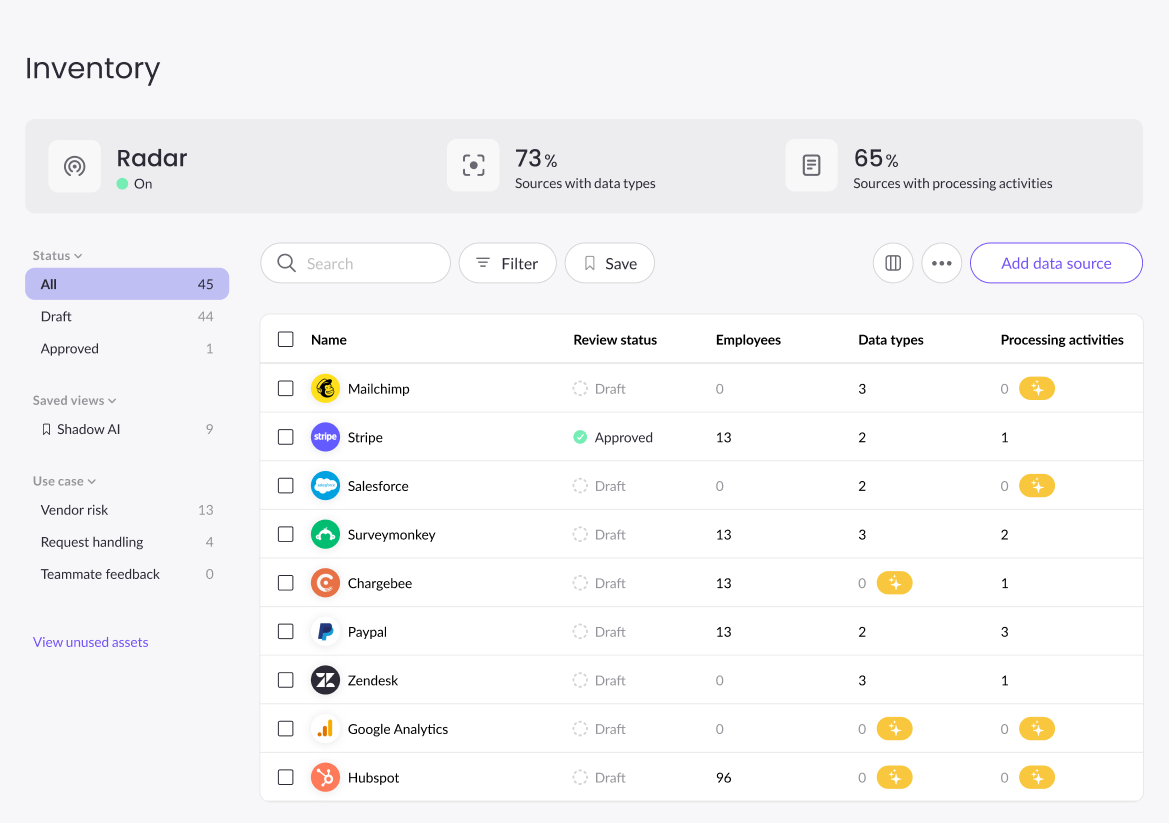
Adding data sources to your Inventory
There are a few ways to get a data source into your Inventory:
- Radar — Mine's automated discovery tool continuously scans your organization's footprint (email, SSO, web, and cloud) and surfaces new systems for review. Radar-discovered sources appear with a review prompt at the top of your Inventory. See the dedicated article on setting up and reviewing Radar for details.
- Workflows and integrations — data sources can also be added automatically through connected workflows, integrations, or intake forms (for example, a new-vendor request form). These are covered in their own articles.
- Manually from the catalog — click Add data source to open the directory, where you can search or browse by category (Marketing, Communications, Data Infrastructure, and more) and add a pre-built system with one click.
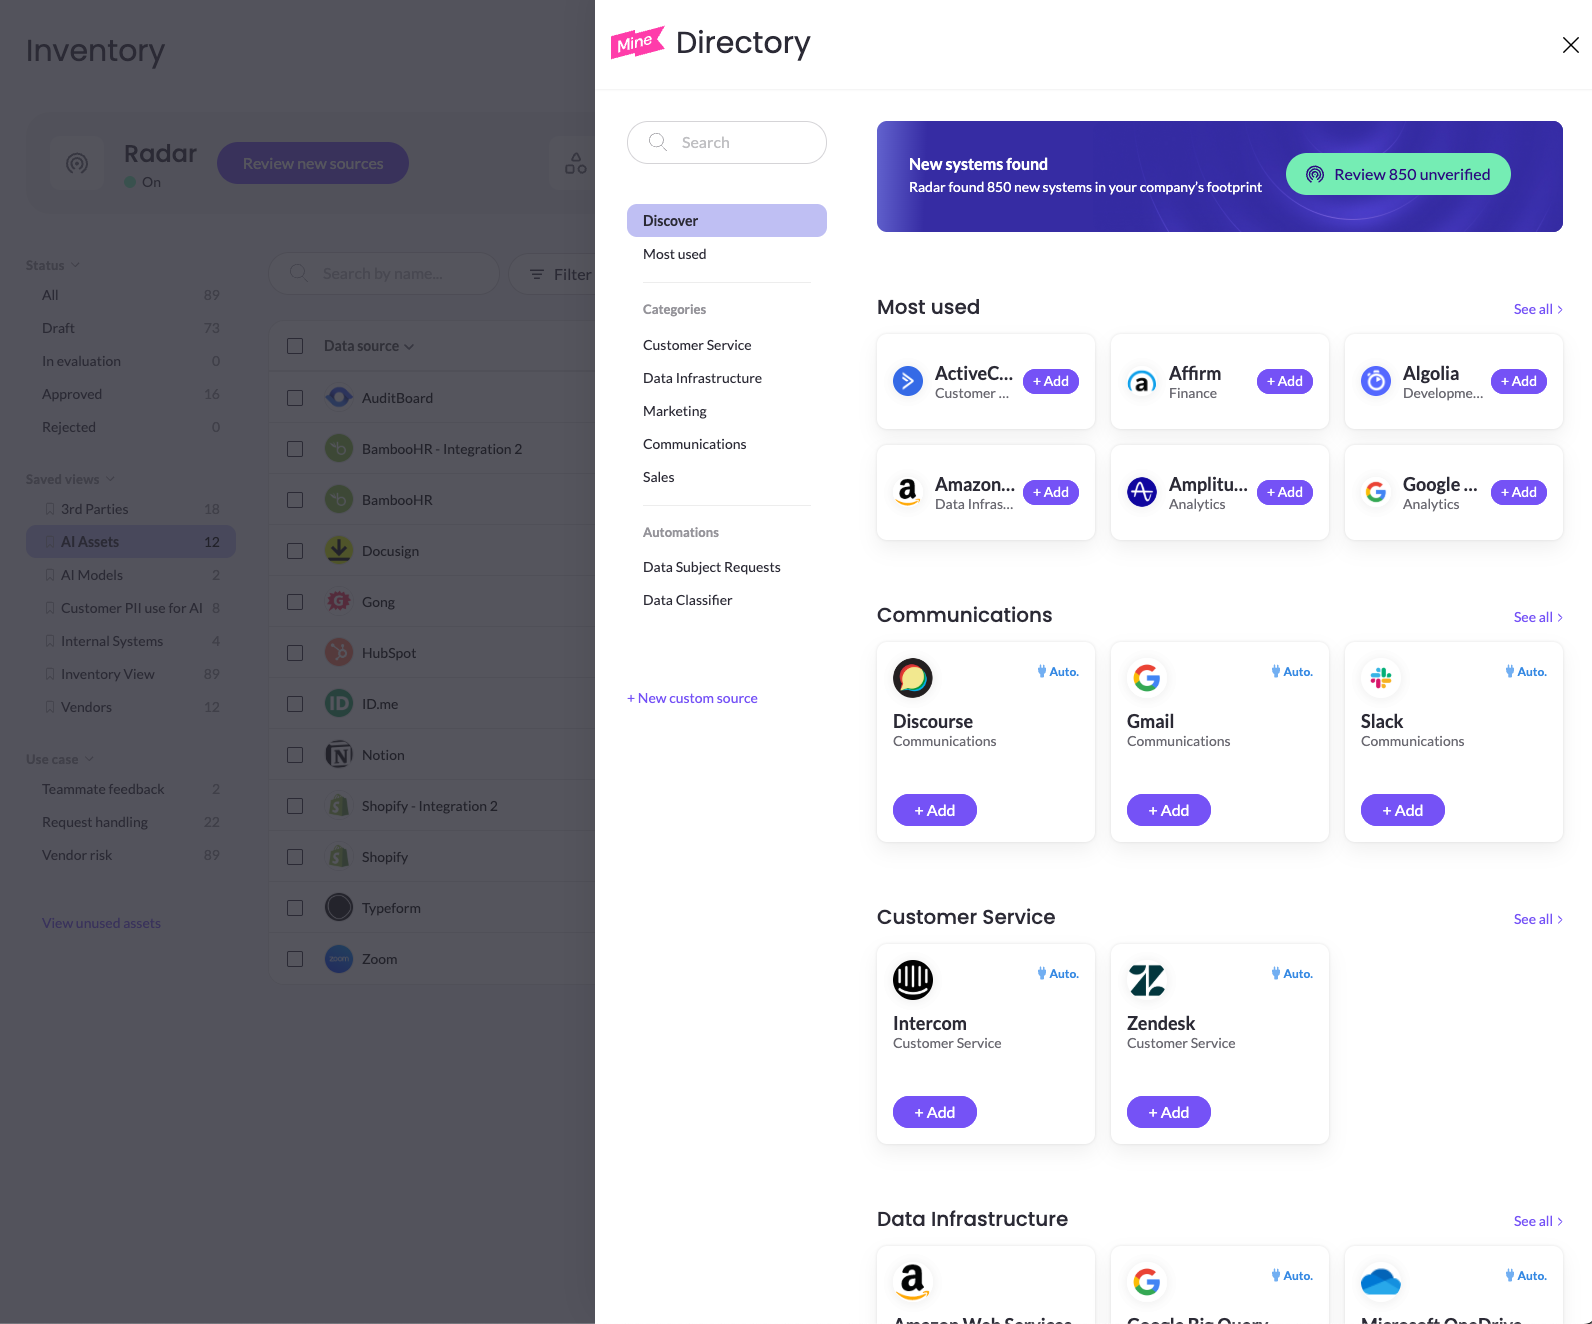
Adding a custom system
If a data source isn't in the catalog — for example, an internal or home-built tool — select + New custom source from the same directory. This creates a blank entry you can name and configure yourself, with the same tabs and fields as any catalog system.
Converting an internal system to a known vendor
If a system was added as custom but is actually a third-party vendor, you can convert it so it's linked to the MineOS catalog. Converting removes the Internal system label and connects the system to the catalog's vendor information.
- Go to Data mapping › Inventory and open the system.
- Converting can't be undone, so make sure you select the right vendor.
- Open the ••• menu and select Convert.
- In Convert internal system to..., search for the vendor under Search for known products that are NOT yet in your inventory. If you don't find it right away, try the product name, the vendor name or part of either.
- Select the matching system from the results.
A confirmation message shows the system's new name. The system keeps all its existing details, such as owners, data types, assessments and risks, and the Internal system label is removed.
The four tabs of an inventory item page
Once you open a data source, its page is organized into four tabs, each focused on a different task.
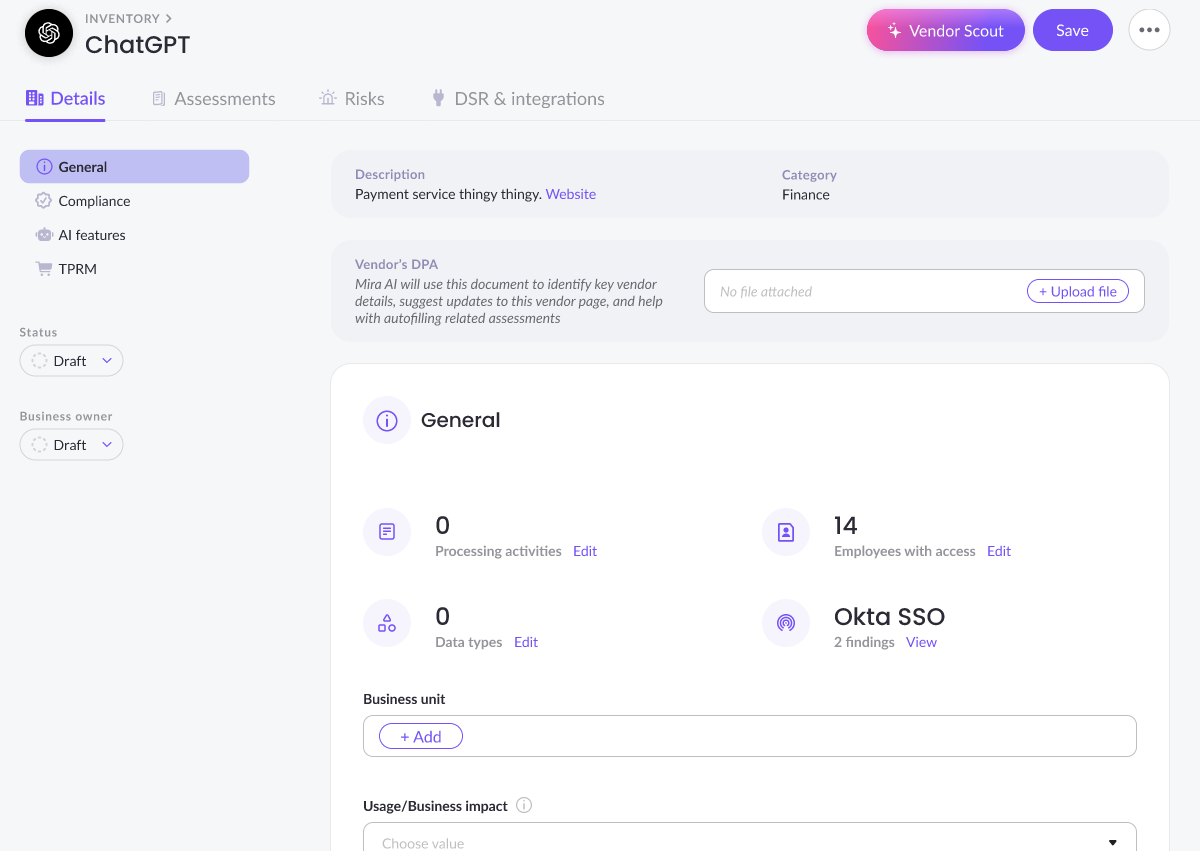
Details
This is the default landing tab and holds the core information about the data source — organized into sections such as General, Compliance, AI governance, and TPRM (Third-Party Risk Management). Which sections and fields appear here can vary between workspaces, because both are fully customizable. See the article on customizing fields and page layout for how to add, reorder, or edit what shows up on this tab.
Assessments
Shows every assessment that references this data source, along with each assessment's labels, status, and collaborators — giving you a quick view of what's been evaluated and what's still outstanding.
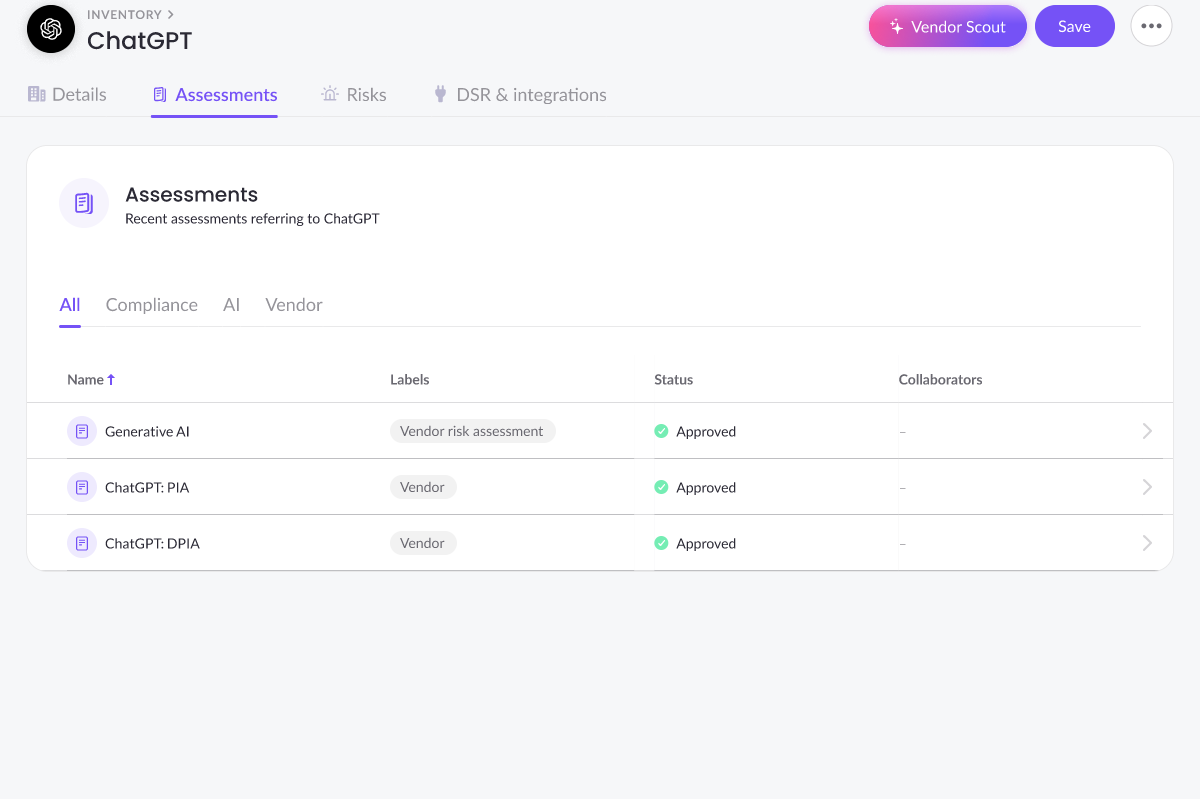
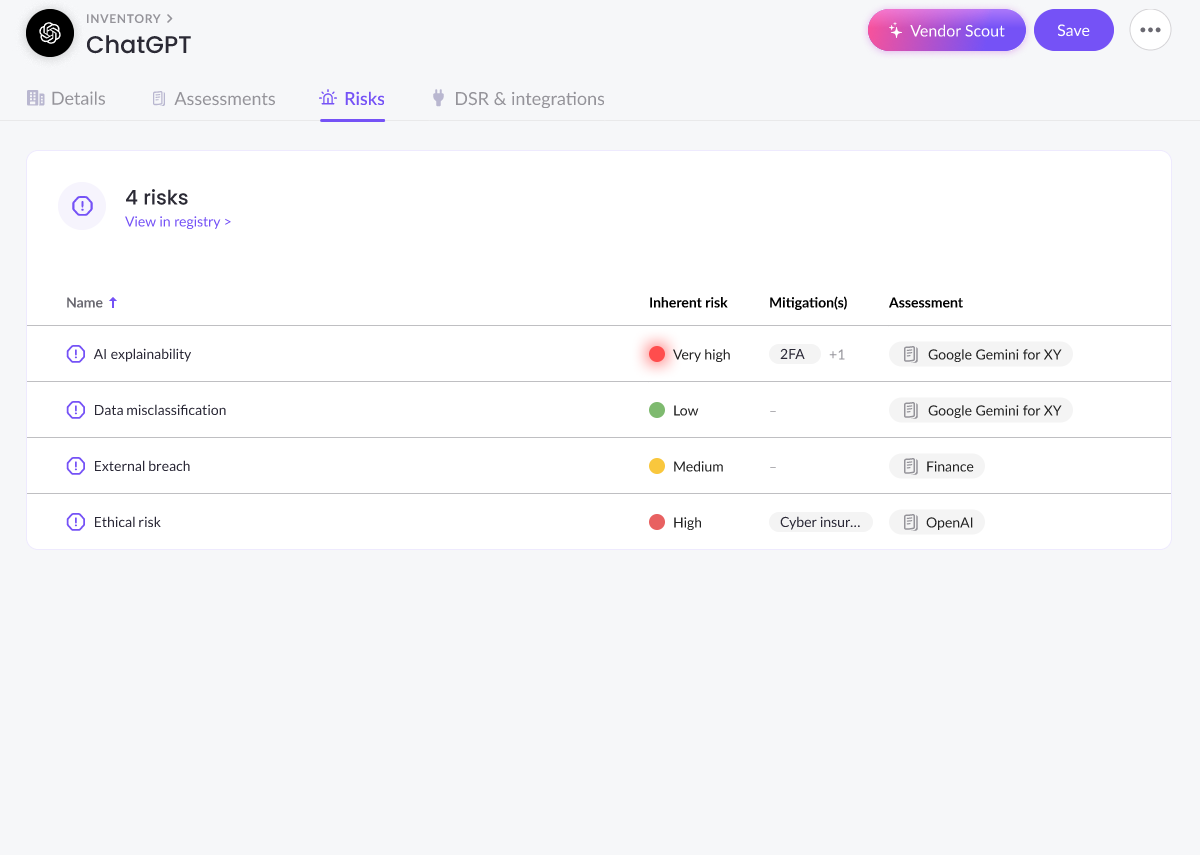
Risks
Lists all risks surfaced across assessments tied to this data source, including inherent risk level, any mitigations applied, and which assessment the risk came from.
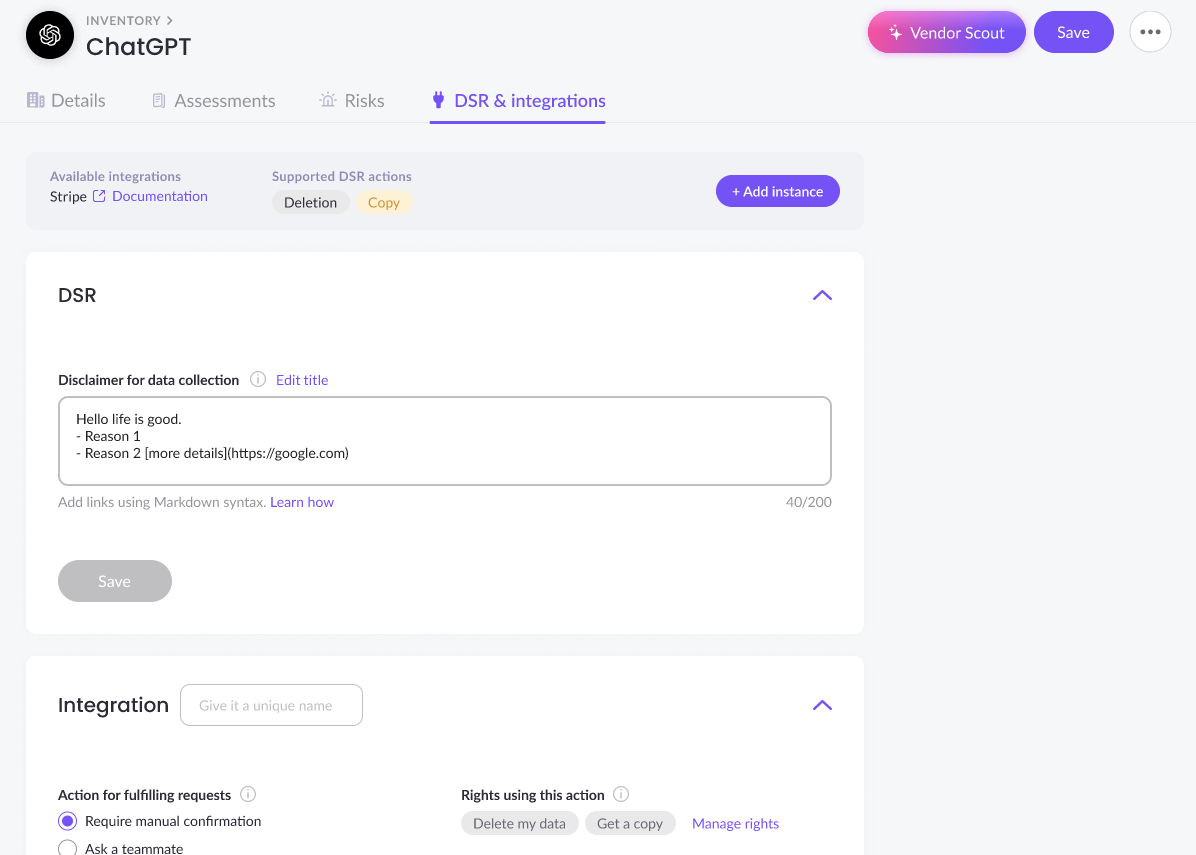
DSR & integrations
Manages the technical side of a data source: which Data Subject Request (DSR) actions it supports (like deletion or data copy requests), any disclaimers shown during data collection, and the integrations connected to it for automating those actions.
Status and owner management
Every data source has a status (such as Draft, In evaluation, Approved, or Rejected) and a business owner assigned to it, both editable from dropdowns on the Details tab. Keeping these current helps your team track which systems are fully reviewed and who's accountable for keeping their information up to date.
Marking a system as unused
If a data source is no longer in use, you can mark it as unused instead of deleting it — this preserves its history while removing it from active views. Open the ••• menu on the data source's page and select Mark as unused. Unused systems can be reviewed separately at any time from the View unused assets link on your Inventory list.
Vendor Scout
For vendors specifically, Vendor Scout offers AI-assisted research to help fill in and keep vendor details current. You'll find the Vendor Scout button at the top of any vendor's page. See the dedicated article on using Vendor Scout to learn how it works.
Updated 5 days ago